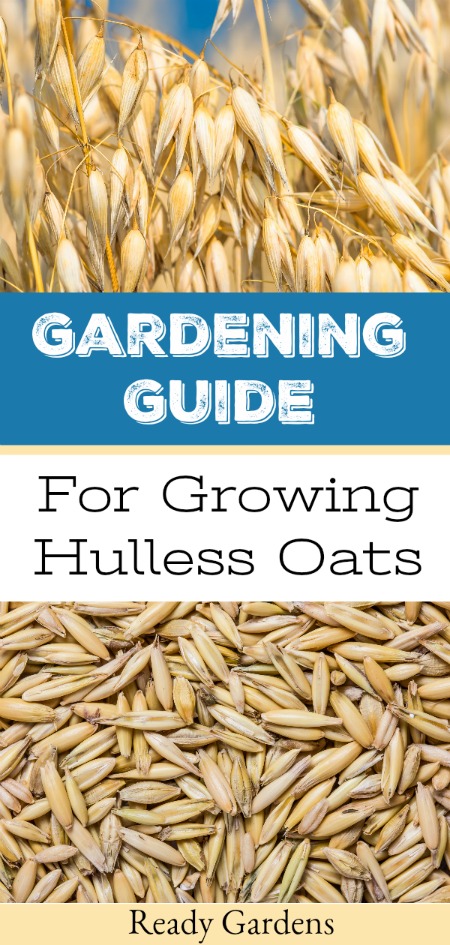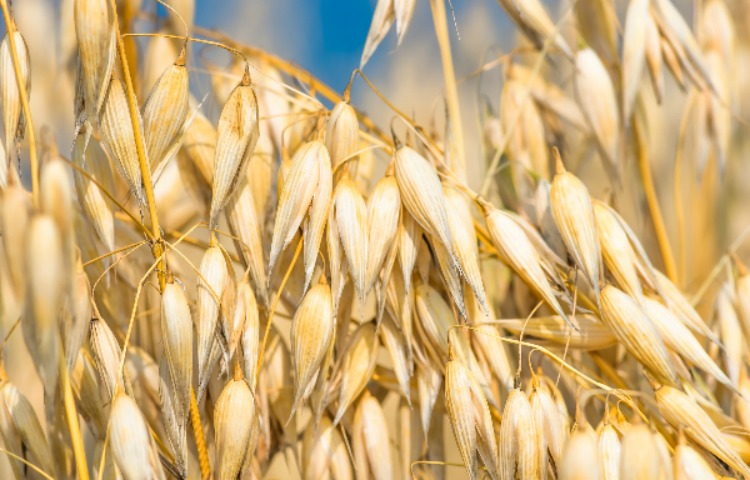
Hulless oats are whole oats grown without the exterior hull, which means they require less processing after harvest and can be rolled or ground into flour. They also provide a quick and healthy breakfast. In our ongoing quest to become more self-sustaining, why we’ve put together this “seed to table” growing guide so you can try to grow your own hulless oats.
Regular oats have a hard shell that is rather difficult to remove. Unless you have a mechanical way of removing this hard shell, you are better off growing some hulless oats (also dubbed “naked oats”) because they have a paper skin rather than a shell that is incredibly easy to remove. Hulless oats are also low in cholesterol and full of iron and fiber, this superfood provides 9 grams of protein per serving. Hulless oats are also a very good source of manganese, selenium, magnesium, zinc and phosphorus.
Helpful tip: Though oats and other small grains are definitely suitable for the home gardeners, you will need to have more space for them than you do for other fruits or vegetables. That doesn’t mean that you need acres to dedicate to your oats in order to get a useful crop.
PLANTING
- Oats should be planted as early in the spring as you can get them out. Plant in early spring for grain, or in early fall to produce a heavy mulch right where the plants grew.
- As winter frosts kill the plants, and rain or snow knocks them down, producing a thick mulch all ready to be planted into in spring.
- To help reduce the weed levels in your field, you should try to do a cultivation in the fall, to bring up any seeds to the surface for the winter cold to kill. Dig again in the spring closer to when you’re going to do your planting.
- You should plant your oats in a sunny location where it will be easy to access water for them. Oats need more water than most other grains, and you will probably have to water them if there are too many days between rainstorms. Although they like moisture, oats will not grow well in low-lying areas where water accumulates. The soil needs to be well draining.
- To sow your seeds, you just broadcast them out over the soil. For a small area (like a quarter acre or less), you can just do it by hand. Try to get the seeds evenly distributed.
- Cover all that seed once you’re done. If you leave it all on the surface, you will surely lose most of it to the birds. Go over the entire area with a rake and turn over the soil to get the seeds at least an inch under the surface.
- Consider covering the oat beds with pine needles. This will help keep the seeds nice and moist and kept the weeds at bay.
Helpful Tip: Another helpful trick is to do your seeding right before an expected heavy rain. The water will beat the seeds into the wet soil, and do a pretty good job of covering without any more effort on your part.
TROUBLESHOOTING
Other than the birds and rodents stealing your grain, there are few pests to worry about when growing oats. But there are some rust fungi that can attack your oats, particularly if the weather is very humid. You will see patches or streaks of rust on the leaves and stalks of your oats. There are fungicide products you can use, as long as you aren’t spraying right before harvest time.
HARVEST & STORAGE
Harvest and Storage
- Oats will be between 2 and 5 feet tall when they are mature. The leaves should be starting to turn brown, and the oat kernels should be in what is called the “dough” stage. When you squeeze a kernel, there should be no milky fluid left (its still in the milk stage then). The kernels should be soft and can be dented with a fingernail. If you wait until they are hard (also called “dead ripe”, you will likely lose a lot of grain with all the handling during harvest.
- To harvest your oats, just cut the seed heads from the stalks. You can cut the stalks anywhere along the length, but the higher up you cut, the less straw you’ll have to deal with when you are threshing. A sharp knife or garden sickle will work fine.
- Once the seed heads are harvested, you will need to let them cure. How long this takes will really depend on the weather, and it can be several days up to several weeks.
- Store your cut oats outside if it’s not expecting to rain, or indoors where it is warm and dry. When the kernels are dead ripe, you can start to thresh out the oats.
- You can actually thresh your wheat with a meat grinder with great success. The design of the latest harvesters uses the same principle of a turning screw to thresh the grain. If you’d like to make one improvement to the hand-cranked grinder, attach a drill to drive the auger. It makes the job a bit smoother. Leave the blades of the meat grinder on and run the oats through!
- Store whole oats in an air-tight container away from the light. They should last up to 3 months. Their high-fat content keeps them from storing longer, and they will go rancid.
Before using your oats, soak them to ensure the skin is gone (it should float to the surface while any pebbles that may have gotten through will fall to the bottom). Once soaked, hulless oats can be sprouted because they are a healthy living grain, unlike common oats that are de‐hulled by a heat process that actually damages the whole grain. Sprouting oats will change their nutrient content, improving it! The carbohydrate content will decrease and the vitamin count will increase as the sprouts take energy from the seed to create a sprout. Not only that, but our human bodies respond to the sprout in a more healthy way; acting as if we are eating a plant as opposed to a grain.
For full directions on how to sprout your hulless oats at home in a jar, please click here.
Use oat sprouts in salads or in your sandwiches! They also go great on soups or as a garnish for dips.
