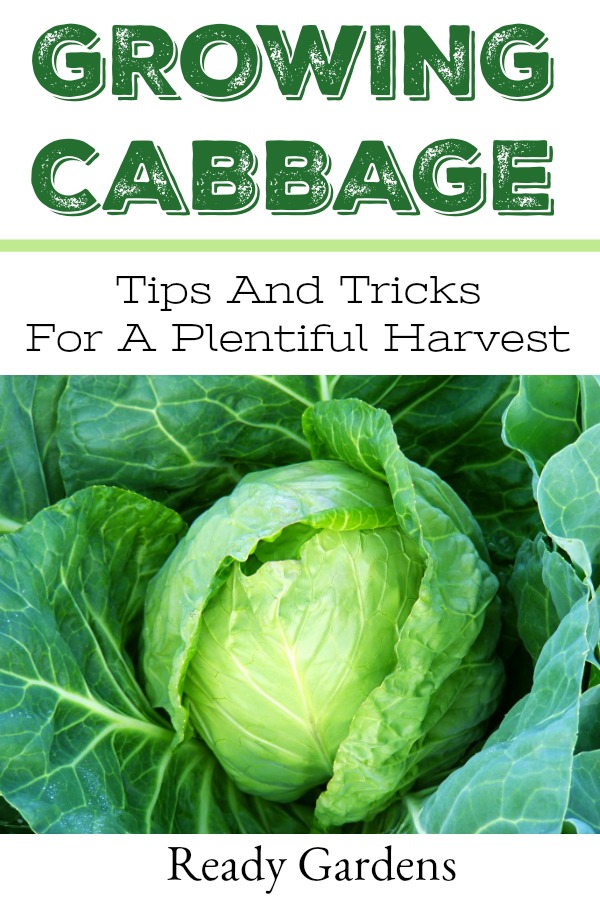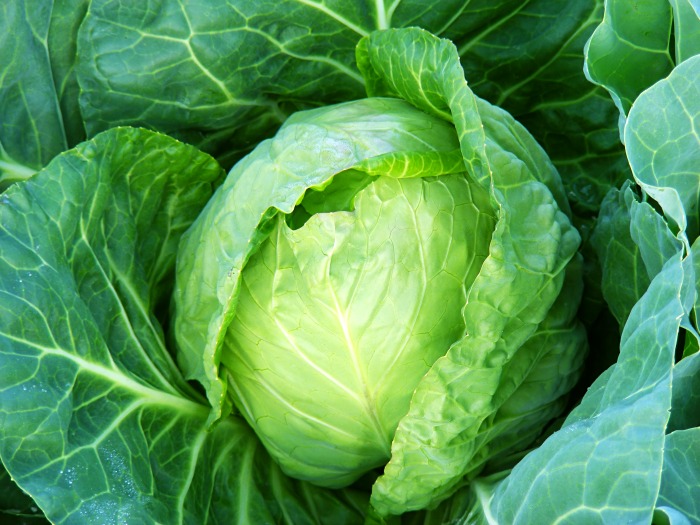
There are many different types of cabbage and it can be a little difficult to grow. The hearty leafy vegetable really only likes cool temperatures and it’s a pest magnet. But with a few tips and tricks, hopefully, you’ll have success growing some nutrient-rich cabbage this year!
If you are planning for a fall harvest, try red or Chinese cabbage. Good varieties include Ruby Perfection and Lei-Choy. For quicker harvest time, try Golden Acre, Primo, or Stonehead. Disease-resistant varieties include Blue Vantage and Cheers. By planning your growing season and providing diligent care, you may have two successful crops in one year, in both spring and fall. Many varieties are available to suit both your growing conditions and taste preferences
IMPORTANT TIP: Practice crop rotation with cabbage year to year to avoid a buildup of soil-borne diseases.
PLANTING
- Start cabbage seeds indoors 6 to 8 weeks before the last spring frost. (See frost dates for your area.)
- Harden off plants over the course of a week. To prepare the soil, till in aged manure or compost.
- Transplant outdoors 2 to 3 weeks before the last expected frost date. Choose a cloudy afternoon.
- Plant 12 to 24 inches apart in rows, depending on the size of head desired. The closer you plant, the smaller the heads will end up being.
- Mulch thickly to retain moisture and regulate soil temperature.
- Because cabbage, broccoli, and cauliflower are closely related and require similar nutrients, it’s best not to plant them together. They are all heavy feeders and deplete the soil of nutrients much faster than other crops; plus, they will attract the same pests and diseases. For cabbage, also avoid proximity to strawberries and tomatoes.
- Cabbage can be grown near beans and cucumbers.
*The Almanac has put together a chart of “plant companions.” This will help you know what you should and should not plant near cabbage
When cabbage transplants reach 5 inches tall, thin them to ensure they are still the desired distance apart. Plants removed can be transplanted to another area of your garden, however, so don’t just toss your thinned plants. Fertilize three weeks after transplanting and keep the soil moist with mulch and water, about 2 inches per week.
Cabbage is susceptible to many pest and diseases. But knowing what is wrong with your cabbage may help you fix it. Here are the likely problems:
- Imported Cabbageworms: Although uncommon in the United States, the imported cabbageworms will wreak havoc on your cabbage, devouring it. Dill protects all members of the cabbage family by attracting beneficial wasps that kill cabbage worms and other pests.
- Aphids: These sap-sucking insects are often found feeding in clusters on new growth. As they feed, aphids secrete large amounts of a sticky fluid known as honeydew. This sweet goo drips onto plants, attracting ants and promoting a black sooty mold growth on leaves. Commercially available predators of these insects, such as ladybugs, are a safe way to cull your aphid population.
- Cabbage Root Maggots: These are difficult to control because they hatch and feed underneath the soil, so you may only know they are there when you notice stunted growth or wilting foliage. You can remove the maggots by carefully digging up your plants and swishing their roots in cold water to remove the maggots, then replant them. Either allow the maggots to drown in the water or feed them to your chickens for a tasty snack.
- Flea Beetles: A voracious pest, they will damage plants by chewing numerous small holes in the leaves, which make them look as if they have been peppered by fine buckshot. One of the most natural ways to get rid of them is by placing yellow sticky traps throughout your garden rows every 15 to 30 feet to capture the adults.
- Cutworms: The most common type of cutworm climbs up the stem of a young plant, wraps around it and cuts it down as it feeds on it. Cutworms are a tasty snack for birds or chickens. If you can, till the soil to turn over the clumps hiding the cutworms and the birds eat them.
HARVEST AND STORAGE
- Harvest when heads reach the desired size and are firm. This will take around 70 days for most green cabbage varieties. Most early varieties will produce 1- to 3-pound heads.
- Cut each cabbage head at its base with a sharp knife. After harvesting, bring it inside or put it in the shade immediately.
- To get two crops from early cabbage plants, cut the cabbage head out of the plant, leaving the outer leaves and root in the garden. The plant will send up new heads, pinch them off until only four or so smaller heads remain. When these grow to tennis-ball size, they’ll be perfect for a salad.
- After harvesting, remove the entire stem and root system from the soil to prevent disease buildup. Only compost healthy plants; destroy those with maggot infestation.
- Cabbage can be stored in the refrigerator for no more than two weeks, wrapped lightly in plastic. Make sure it is dry before storing. In proper root cellar conditions, cabbage will keep for up to 3 months.
Another potential issue with cabbage is splitting, when the heads begin to split in half. Split cabbage heads usually follow a heavy rain, especially after a period of dry weather. When the roots absorb excess moisture after the cabbage head is firm, the pressure from internal growth causes the head to split. The same thing may happen when the heads are fertilized late in the season. Early varieties are more susceptible to splitting cabbages than late varieties, but all varieties can split under the right conditions. Unfortunately, there are no easy fixes for splitting, so prevention is key.
Hopefully, with these tips and tricks, you’ll be able to grow a crop of pest-free cabbage in your garden!
