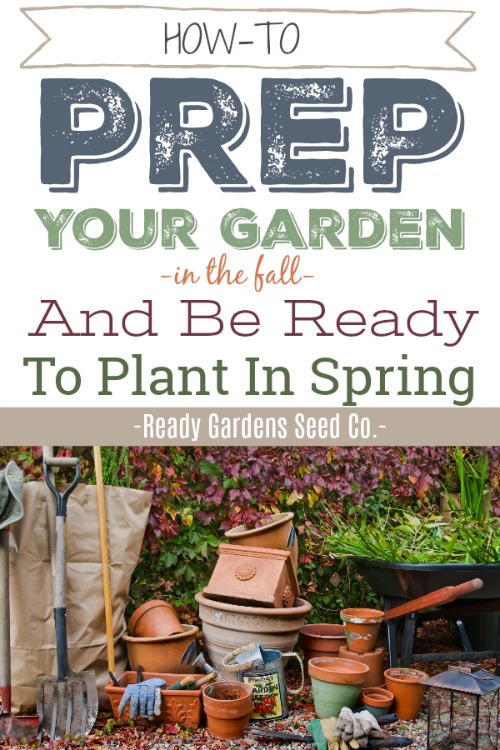
The changing of the seasons is often bittersweet for nature lovers and gardeners. One the one hand, you’ll miss your homegrown produce but on the other hand, warm sweaters and cozy nights by the fire await. It’s all a part of the cycle of Earth, and we’ve put together this guide to help you get your garden winter ready so you can enjoy the planting season in the coming spring. Taking the extra time to clean up your vegetable garden in the fall makes spring planting a lot quicker and easier; not to mention more enjoyable!
Step 1:
The first step is to clean up the garden beds. Here’s a handy To-Do List for the Fall. If you do this before it gets too cold, you’ll be more comfortable as well. It also helps to remember with gratitude what your garden has given you over the summer. It makes the motivation to care for your garden so much easier. A vegetable garden is usually such a complete mess by the end of the season that it can seem overwhelming at first. So, break up the cleanup tasks over the course of a few weeks and work through the garden one bed or area at a time until they are all cleaned up and tucked in for winter. Remove all the dead and dying plants because some diseases, including “Late Blight” (the fungal disease responsible for the Irish potato famine) and pests can overwinter on foliage and fruit left in the garden. Remember to pull any weeds too in preparation for what comes next.
Step 2:
The next step is to add a 1-2 inch layer of compost or mulch to your vegetable garden. Lightly cover the beds with the old mulch to help suppress weeds and protect the soil without insulating the beds. Remember; all diseases and pests in the soil are killed when it freezes over in the winter. Mulching the beds too thickly could prevent the soil from freezing completely. Once the ground freezes, add another layer of mulch to perennial herbs and flowers. During the winter, the snow can actually help the garden such as insulate plants from the cold, slowly release nutrients and increase activity in some microorganisms found in the soil.
Step 3:
Consider getting a soil test once you’ve cleaned the garden and mulched. A soil test will help you to determine if your soil will benefit from amendments to add nutrients and adjust pH. Soil tests results will tell you:
- Soil pH
- Levels of potassium (K), phosphorus (P), calcium (Ca), magnesium (Mg), and sulfur (S)
- Level of organic matter
- Lead content
A soil test will recommend how much lime and fertilizer (organic or chemical) to add to it improve the quality. Lime is commonly used to adjust the soil’s pH. Adding lime in the fall is beneficial because it has all winter to dissolve into the soil.
Step 4:
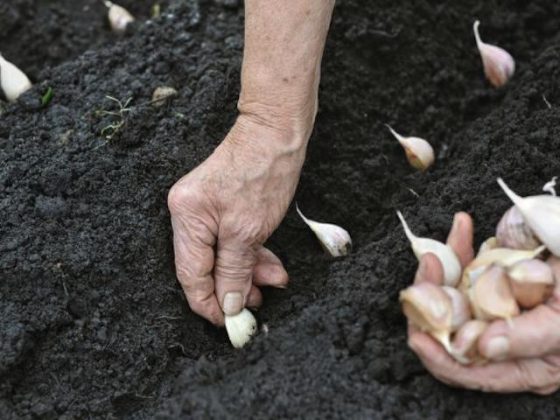 Now is the time to plant next year’s garlic! Garlic roots develop in the fall and winter, and by early spring they can support the rapid leaf growth that is necessary to form large bulbs. Ensure soil is well-drained with plenty of organic matter. Select a sunny spot with a sandy, clay loam if possible. In heavier soil, plant the garlic in raised beds that are two to three feet wide and at least 10 to 12 inches tall. In areas that get a hard frost, plant garlic as early as 6 to 8 weeks before the first expected fall frost date.
As you are preparing your vegetable garden for the change in seasons, think about what you grew and how it did. Take notes on how many plants you grew, which varieties did well, and how much you harvested. You could also consider which pests you had to deal with and on which plants. This will help you come spring time when deciding which vegetables are right for you and what you can grow well or need some extra work on.
Step 5:
The last step is to enjoy the fall season! Enjoy the changing leaves and beautiful colors of the season knowing your garden is tucked in for the winter and you’ll be ready to get going once things warm up again in the spring! All you’ll have to do is rake the mulch aside and begin putting seeds or starts in the soil! Enjoy the fruits of your garden over the winter so you look forward to growing more delicious food once again.
